How to Tile and Grout: Tips, Tricks and Mistakes to Avoid
You’ve been putting it off for months, but that tiling job won’t complete itself. You might think that you don’t have the necessary skills, even the professionals had to start somewhere.
You won’t learn until you start tiling, but there are some helpful tips and tricks that the industry experts use as well as some basic housekeeping rules that can make the job easier. This article takes you through the best way to tile and grout and how to avoid the pitfalls along the way.
Plan Your Layout

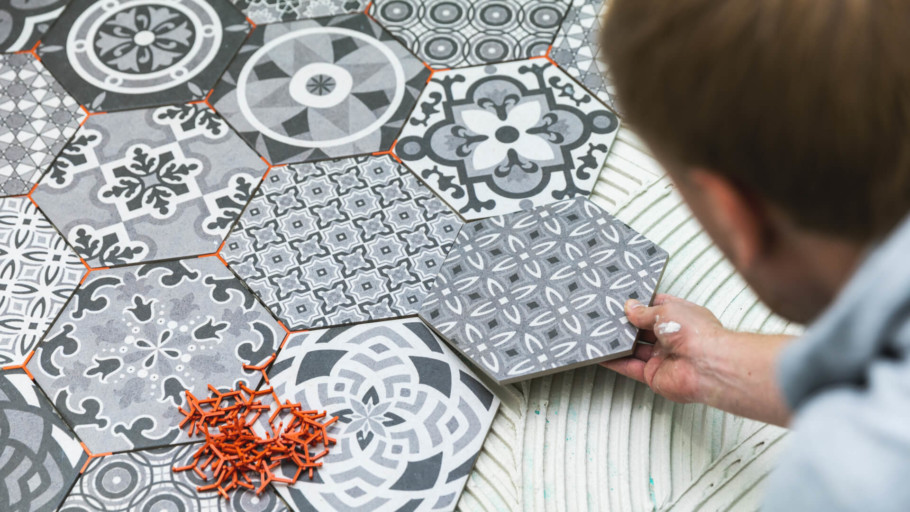
Before you pick up a tool, you need to establish your tile layout, or the pattern with which your tile will fill the space. This can be easier said than done, as there are so many variations. Some of the most popular include:
- Linear – The most common design where the tiles get placed in a grid system with the grout running in straight lines.
- Diamond – Like linear, but the tiles are rotated diagonally, so the grout lines run at 45-degree angles.
- Brick – Looks the same as the layout on a typical house brick design.
- Herringbone – The tiles are interlaced end to end to create an intricate pattern.
The linear pattern might be the best for a novice tiler, but feel free to challenge yourself to a more complicated design if it fits better with your design vision.
Square Footage

Knowing the square footage of the space you want to tile is crucial. Once you have this worked out, you can then calculate out how many packs of tiles you will need. This simple process could save you money. Most tile packaging states its square foot coverage, so divide the square footage of the tiling area you want by the coverage on the pack and that will give you the number of boxes you’ll need. It can also be helpful to budget for slightly more than you’ll need because, as a novice, mistakes might happen.
Choosing the Right Tile

Choosing the right tile for the job is vital, especially if you want your finished room to look like new for as long as possible. Cement tiles, for example, require sealing and thus should be avoided when a porcelain tile will work just as well and give a smart finish.
| Type of Tile | Room |
| Ceramic or Porcelain | Walls, floors, and bathrooms (only when glazed) |
| Granite | High-traffic floors and countertops |
| Limestone | Flooring and countertops |
| Glass | Low-traffic floors and walls |
| Natural stone | Bathrooms (treat with a waterproof layer) and floors |
| Slate | Countertops, floors, and walls |
Getting Started
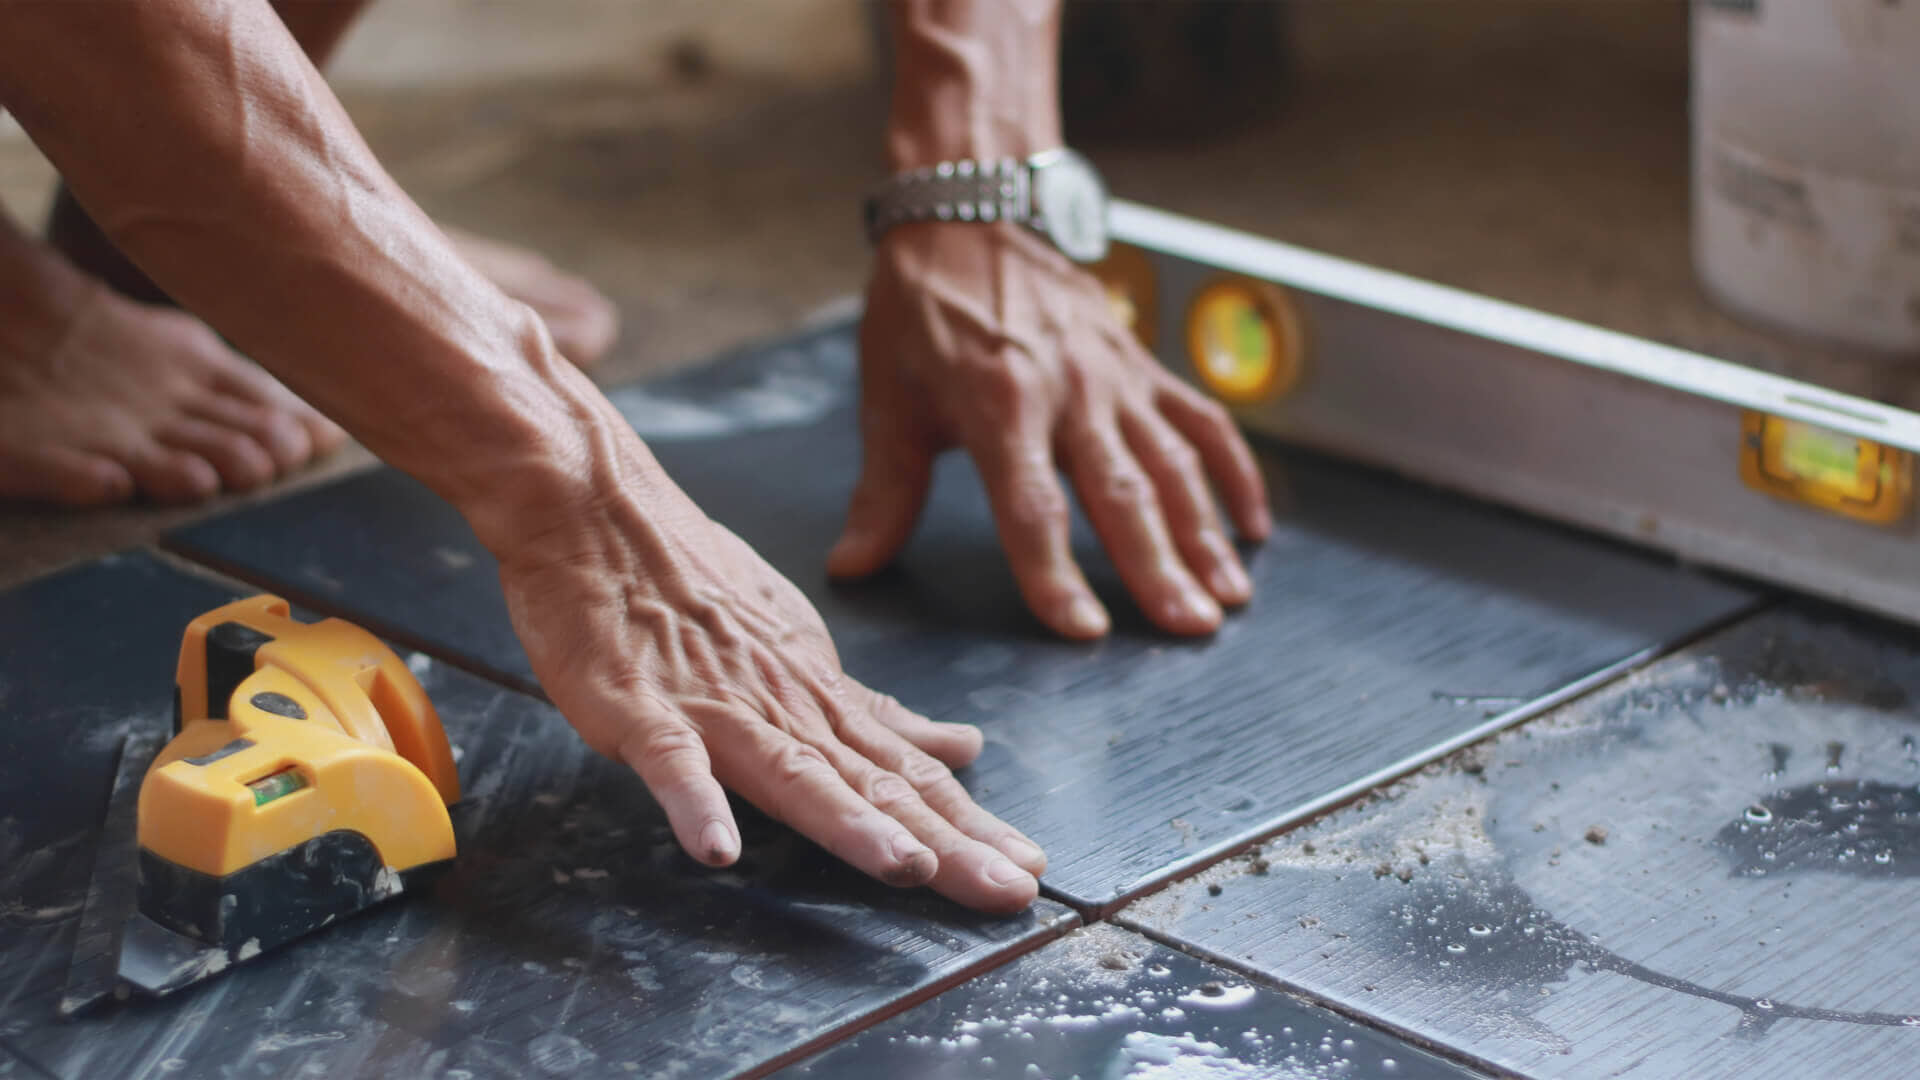
Make sure that the surface is completely clean and free from debris. Also, make sure it is smooth and has no bumps or dips. If you ignore the blemishes now, the tiles won’t look straight or flush. You also need to make sure the tiles are clean.
Begin by finding the exact center of the area you want to tile. Take a tape measure and find the length and height, that way you can calculate the center. Then, mark a horizontal and vertical line with a pencil or chalk-line to divide the wall into 4 sections.
Starting from the center of the wall, work an area of around 3 square feet, apply the adhesive with a tile trowel, or notched spreader (see our article on essential tools for tiling). Always start in the middle of the wall to give you an idea of the coverage and to avoid small cuts around the edges later. The mortar should be applied in layers roughly half an inch thick, but this could vary depending on the weight and size of the tiles you use.
Once the adhesive is on the wall, press your tile firmly but carefully with your fingers. Give the tile a little twist into position to spread the mortar evenly. If you feel the tile needs extra encouragement to stick, give it a gentle tap with a rubber mallet. Now you’re ready to add your first spacer, which will ensure that your tiles are spaced evenly across your project. Simply repeat this process, working the tiles in quadrants to see that the pattern and spacing are right until you reach the outer edges of the wall.
Cutting the Corners
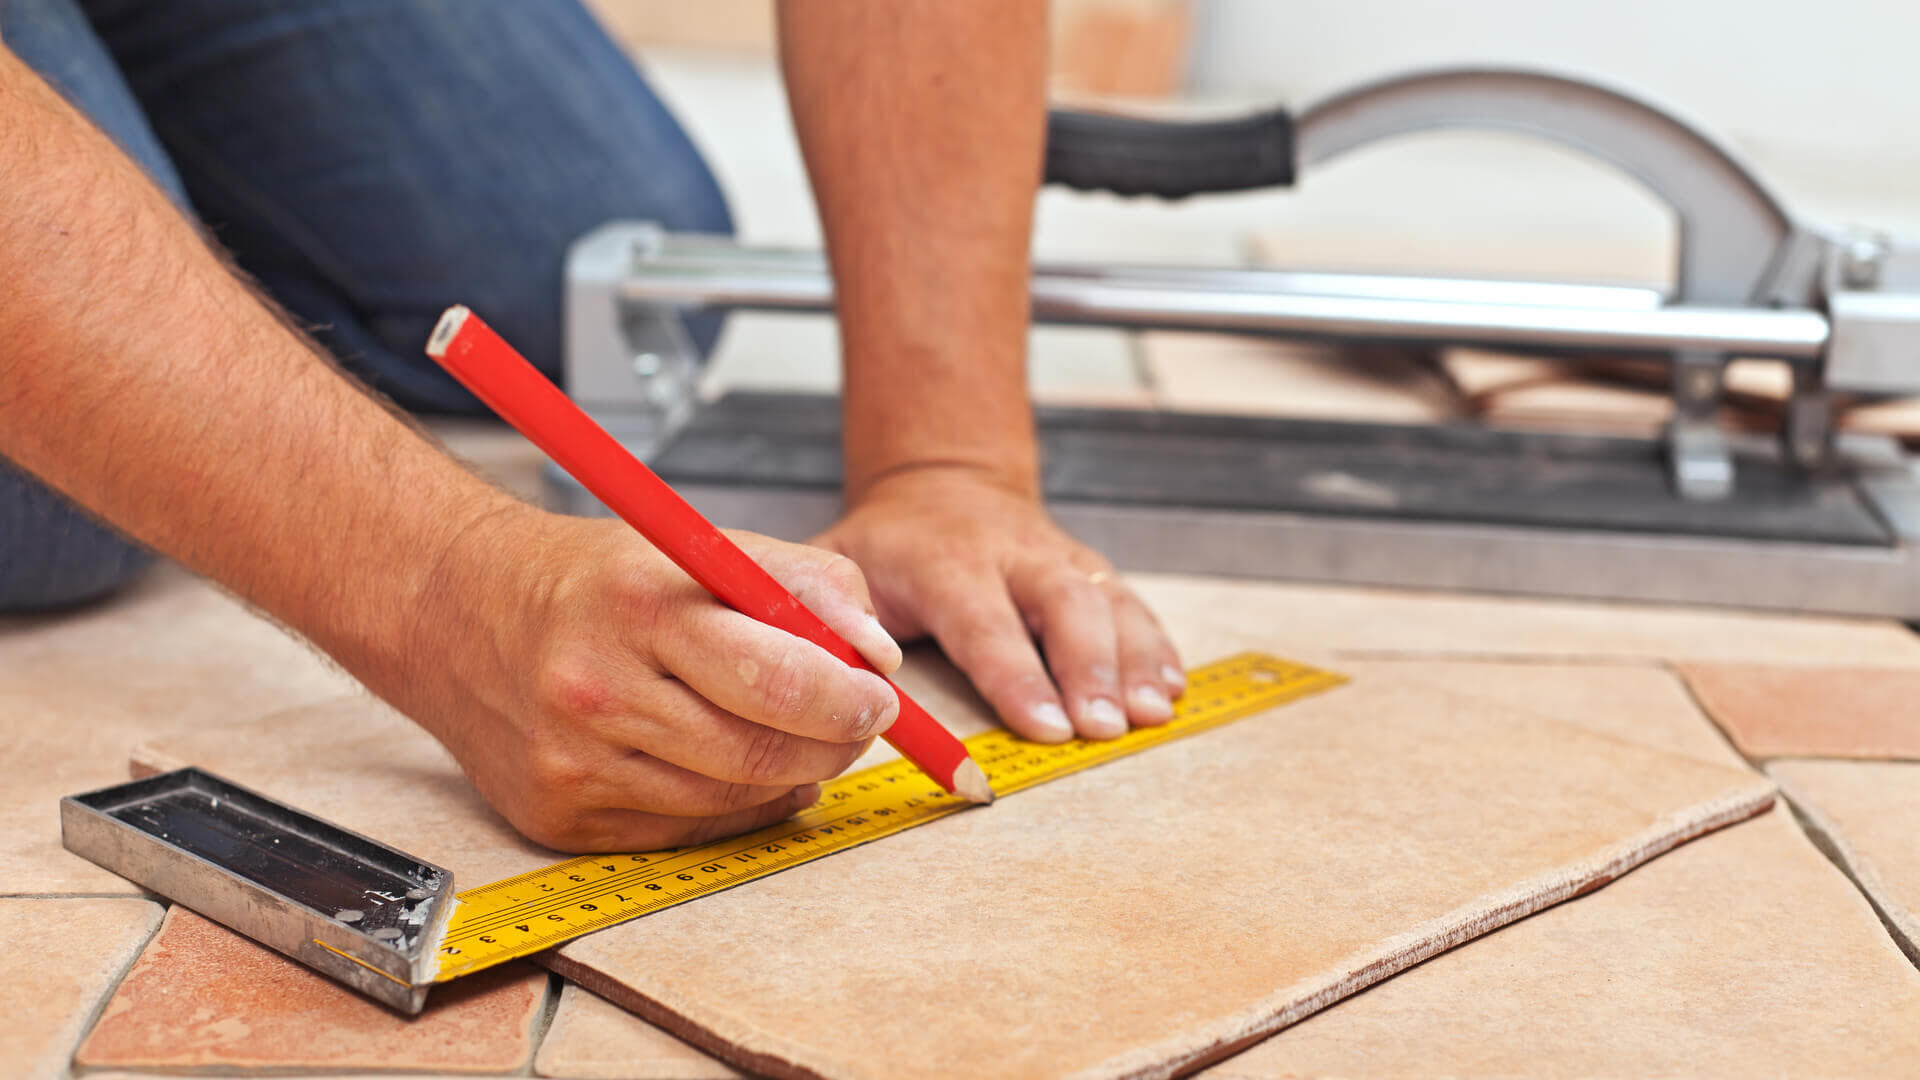
When you get to the end of the wall, inevitably, you will need to cut the tile to fit the corner. For this, you’ll need a tile cutter or wet tile saw. To measure the line that you want to cut, place a tile on top of the nearest full tile to the corner where you want to cut, making sure that the edges perfectly align. Then put a second tile on top of the first one, butting the edge against the corner. This will give you the line to cut.
Check, Check, and Check Again
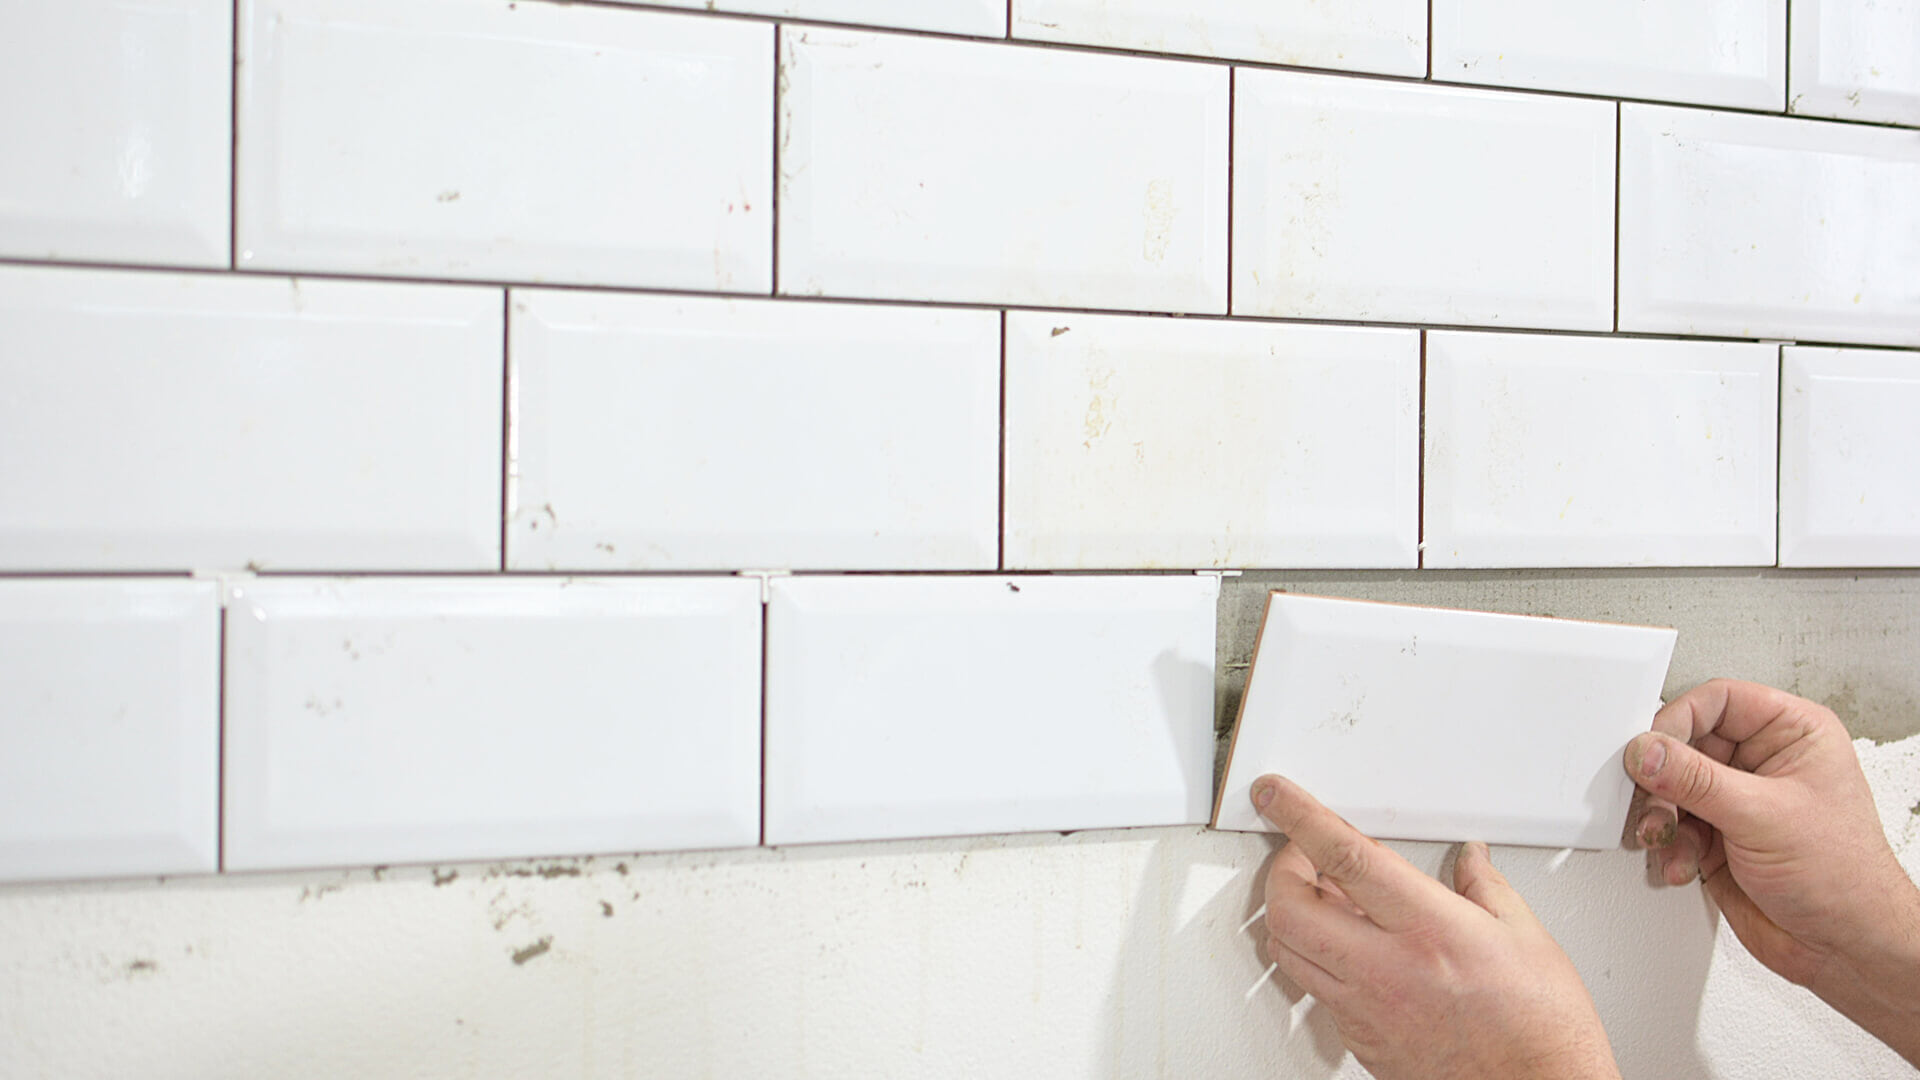
Tiling can be deeply absorbing, and before long you’ll have the first row done and be working on a new line, thinking it’s easy and wondering why you were so worried about doing it in the first place.
This point in the project would be a good time to step back and check on the quality of the work. Make sure that you haven’t deviated from the plan, because a fractional error here will really show at the end of the row, and potentially throw off the entire wall.
Grouting
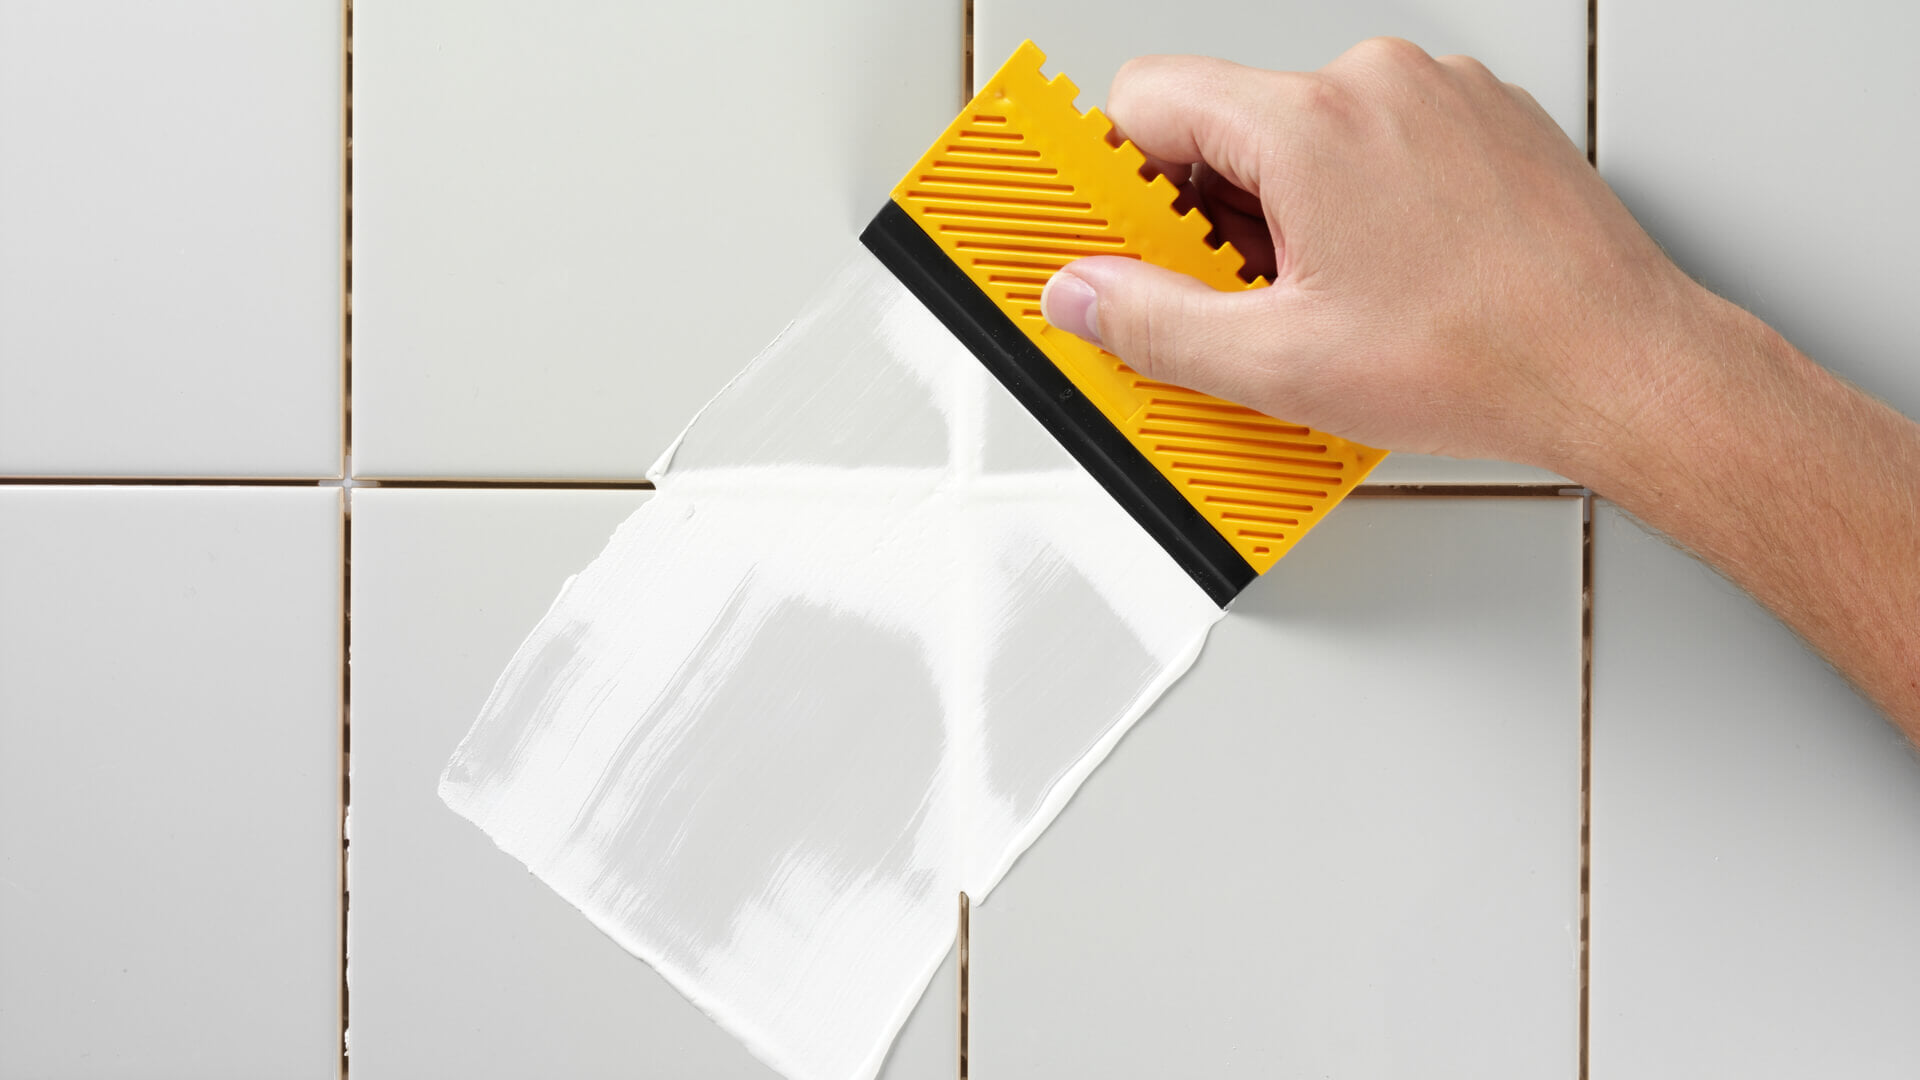
Once the wall gets covered with tiles and you’re satisfied that the adhesive is dry, you are now ready to grout. This is where the grout float comes into its own. This flat bottomed trowel has a rubber base to spread the grout into the gaps between the tiles.
Work the grout into every crevice in a downward, diagonal motion to ensure that the whole wall is sealed to avoid the chance of water ingress later. Be generous with the grout, because you don’t want any gaps.
Clean the Tiles
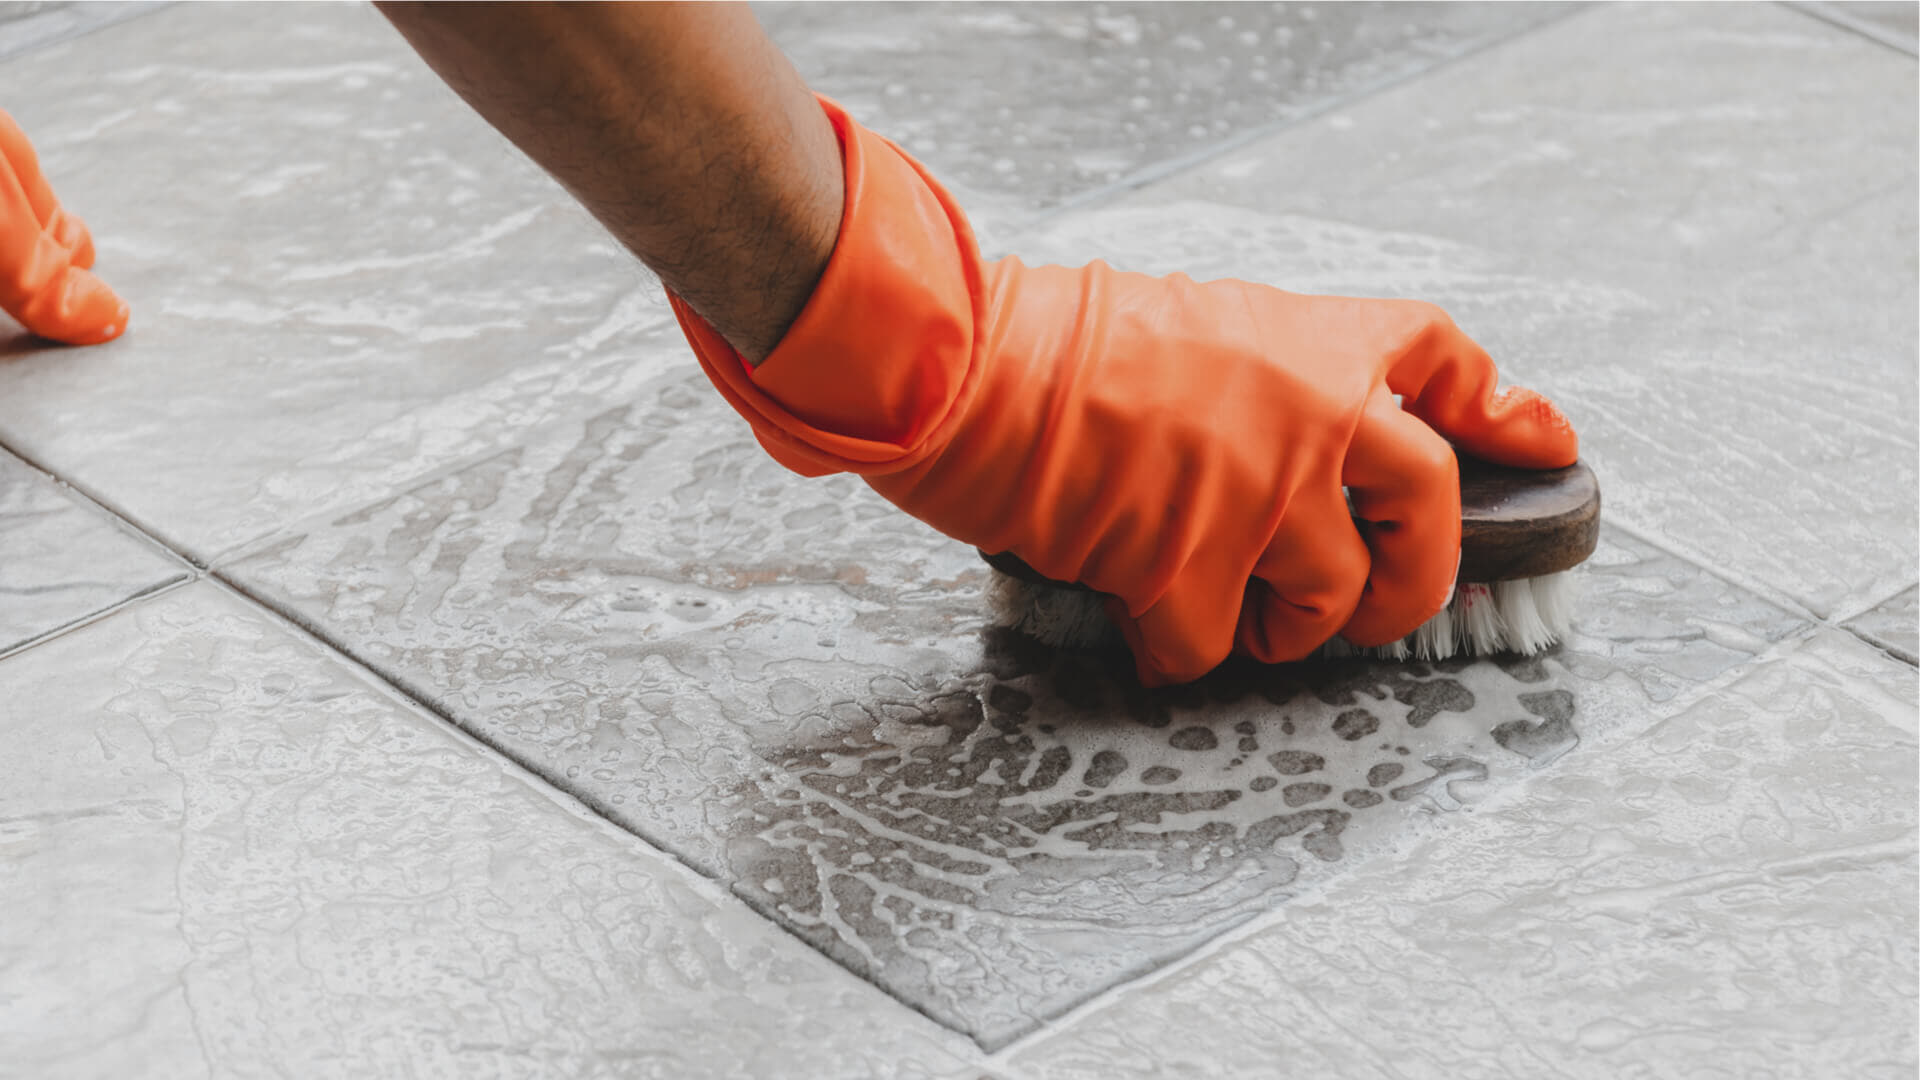
Applying grout is a messy business, and the tiles will get coated in excess debris. Make sure you have a bucket and grout sponge handy to wipe away the mess from the surface of the tiles immediately.
Do this as you go and not at the end because the grout will harden if left in place and will become impossible to shift. It also dulls the look of the tile, meaning that your handy work will look less impressive.
Drying Time
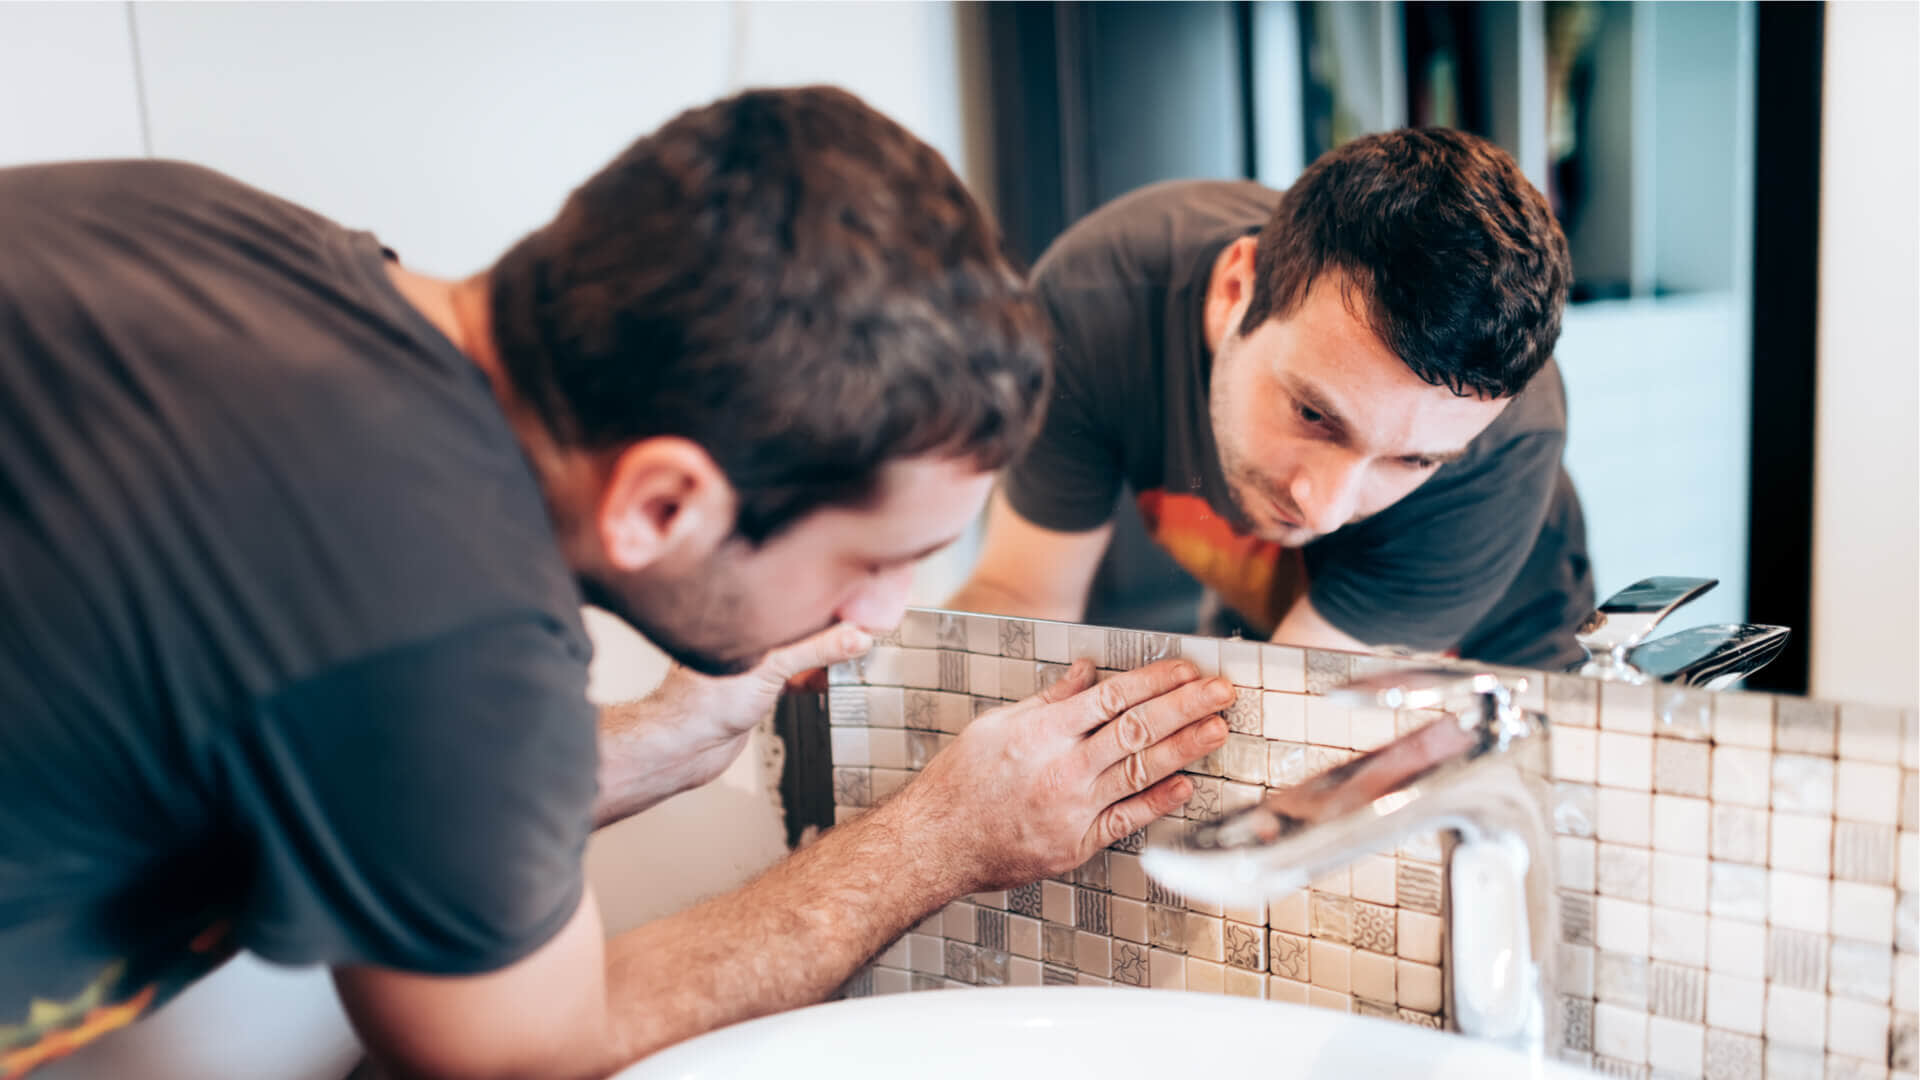
Allow at least 24 hours for the mortar and grout to dry before attempting to drill into the tiles to re-attach any wall fixtures. It’s essential that you wait this time to ensure that the tiles have bonded properly with the wall and the grout is sealed.
Depending on what grout you use, some tiles have a higher absorbency so may draw the moisture from the grout resulting in cracking or gaps appearing. To compensate, be prepared to add additional grout.
Top Tips
- When buying the tiles, always add 10 percent for breakages and cracks, especially as you are a novice.
- When you go to the DIY store check the serial numbers on the tile boxes are the same. It avoids color variations between batches.
- Use a spirit level to hold flat against the wall so you can confirm it is flush. If you see gaps between the wall and the level, it needs your attention, and you can avert disaster before it happens.
- If you are a tiling novice, use larger tiles for quicker results and to hide any inaccuracies. Larger tiles are more forgiving and will still provide a stunning finish.
- Fill the wall with complete tiles before tackling the corners. That way you can measure and cut in one hit, saving you time on the awkward bits of the wall.
- Remember to give the adhesive “open time” to allow it to set before applying the tile. This ensures a better bond.
- For corners and edges, mark out your cutting line with a pencil to make sure you don’t deface the tile. Felt-tip pens or Sharpies can stain the tile and ruin the overall effect.
- Try and use grout that matches the color of your tiles. It hides any blemishes or mistakes more easily.
- Try and avoid white grout in areas where heavy staining may occur. Think showers and splashbacks.
- Don’t apply the grout while the tile mortar is wet. It may result in the tiles moving and an uneven finish.
- If you are mixing the grout and adhesive, do so in small batches to avoid wastage and the mix drying out.
Final Thoughts
Tiling is hugely satisfying new skill to learn. Once you discover that tiling is all about method, planning, and consistency, there will be no stopping you. So, stop putting off that tiling job and work it like a professional.

